Many organisations use Docker to unify their build and test environments across Different machines because they provide an efficient mechanism for deploying applications. Starting with pipeline versions 2.5 and higher pipeline has built-in support for interacting with docker from within a jenkinsfile. Pipeline is designed to easily use docker images as the execution environment for a single stage or the entire pipeline meaning that a user can define the tools required for their pipeline without having to manually configure agents and practically any tool which can be packaged within a docker container can be used with ease by making only minor edits to a jenkinsfile. So, when the pipeline executes docker, Jenkins will automatically start the specified container and execute the define steps within its. So, in this article I will show you how to setup Jenkins in Docker container.
Prerequisites
- Familiar with terminologies of Jenkins.
- Familiar with Unix/Linux CLI.
- Familiar with Docker and it’s basic command.
- Basic Networking and Client-Server communication Knowledge.
Docker Desktop should preinstalled in your machine before start this tutorial.
Step 1:-
I assumed that Docker has downloaded and installed in your system. So, launch a terminal or command prompt. First of all we have to pull Jenkins image from the docker hub –
docker pull jenkins
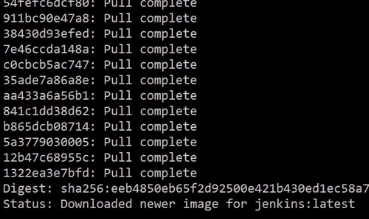
It will take some time, so wait until it complete. After pulling complete you are going to see as following status in your terminal

So once the image is downloaded you can check for the image by running the command docker images

we have downloaded Jenkins image and it’s size is 696MB. To list the containers you can use the command docker ps . So, we will not be having any running Jenkins container because we have not created it out of image.

Step 2:-
In this step we will created Jenkins container out of images of it. To Run the Jenkins container we have to execute following command-
docker run -p 9999:8080 -p 50000:50000 jenkins
-p 9999:8080 this is to basically expose the port 9999 in my machine and it will associate it with 8080 the docker machine. I am going to more port which is 50000 to 50000. The first value indicates the port within my system and the second one indicate the docker machine and then I am going to pass in the parameter “Jenkins” (image name). So, above command will run Jenkins Image that I pulled form docker hub.

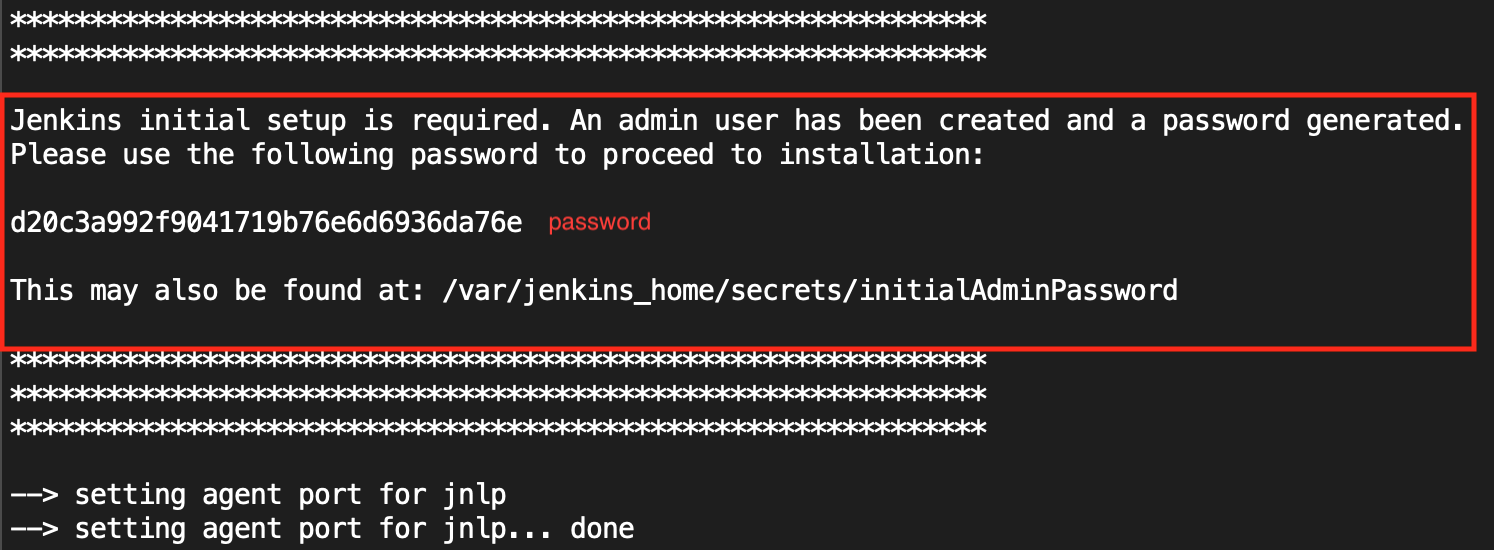
Note that the Jenkins is successfully running within a container now and you see a similar message here Jenkins initial setup is required and admin user has been created and a password has been generated. So, you have to use that password to proceed with the installation. Copy the password so that we can use it next step.
Step 3:-
In this step, we are going to start Jenkins installation process. However , how to access the Jenkins installation? We would use container IP and port 9999 to access it. So, we have to go through following steps to discover the container IP-
First open another terminal to write and execute command docker ps

Here we can see the running Jenkins container. We would use the CONTAINER_ID of it to find out its IP address. Next, write and execute this command –
docker inspect -f '{{range .NetworkSettings.Networks}}{{.IPAddress}}{{end}}' CONTAINER_ID

So, container IP address is 172.17.0.3. This IP you have to use along with exposed port 8888.
Step 4:-
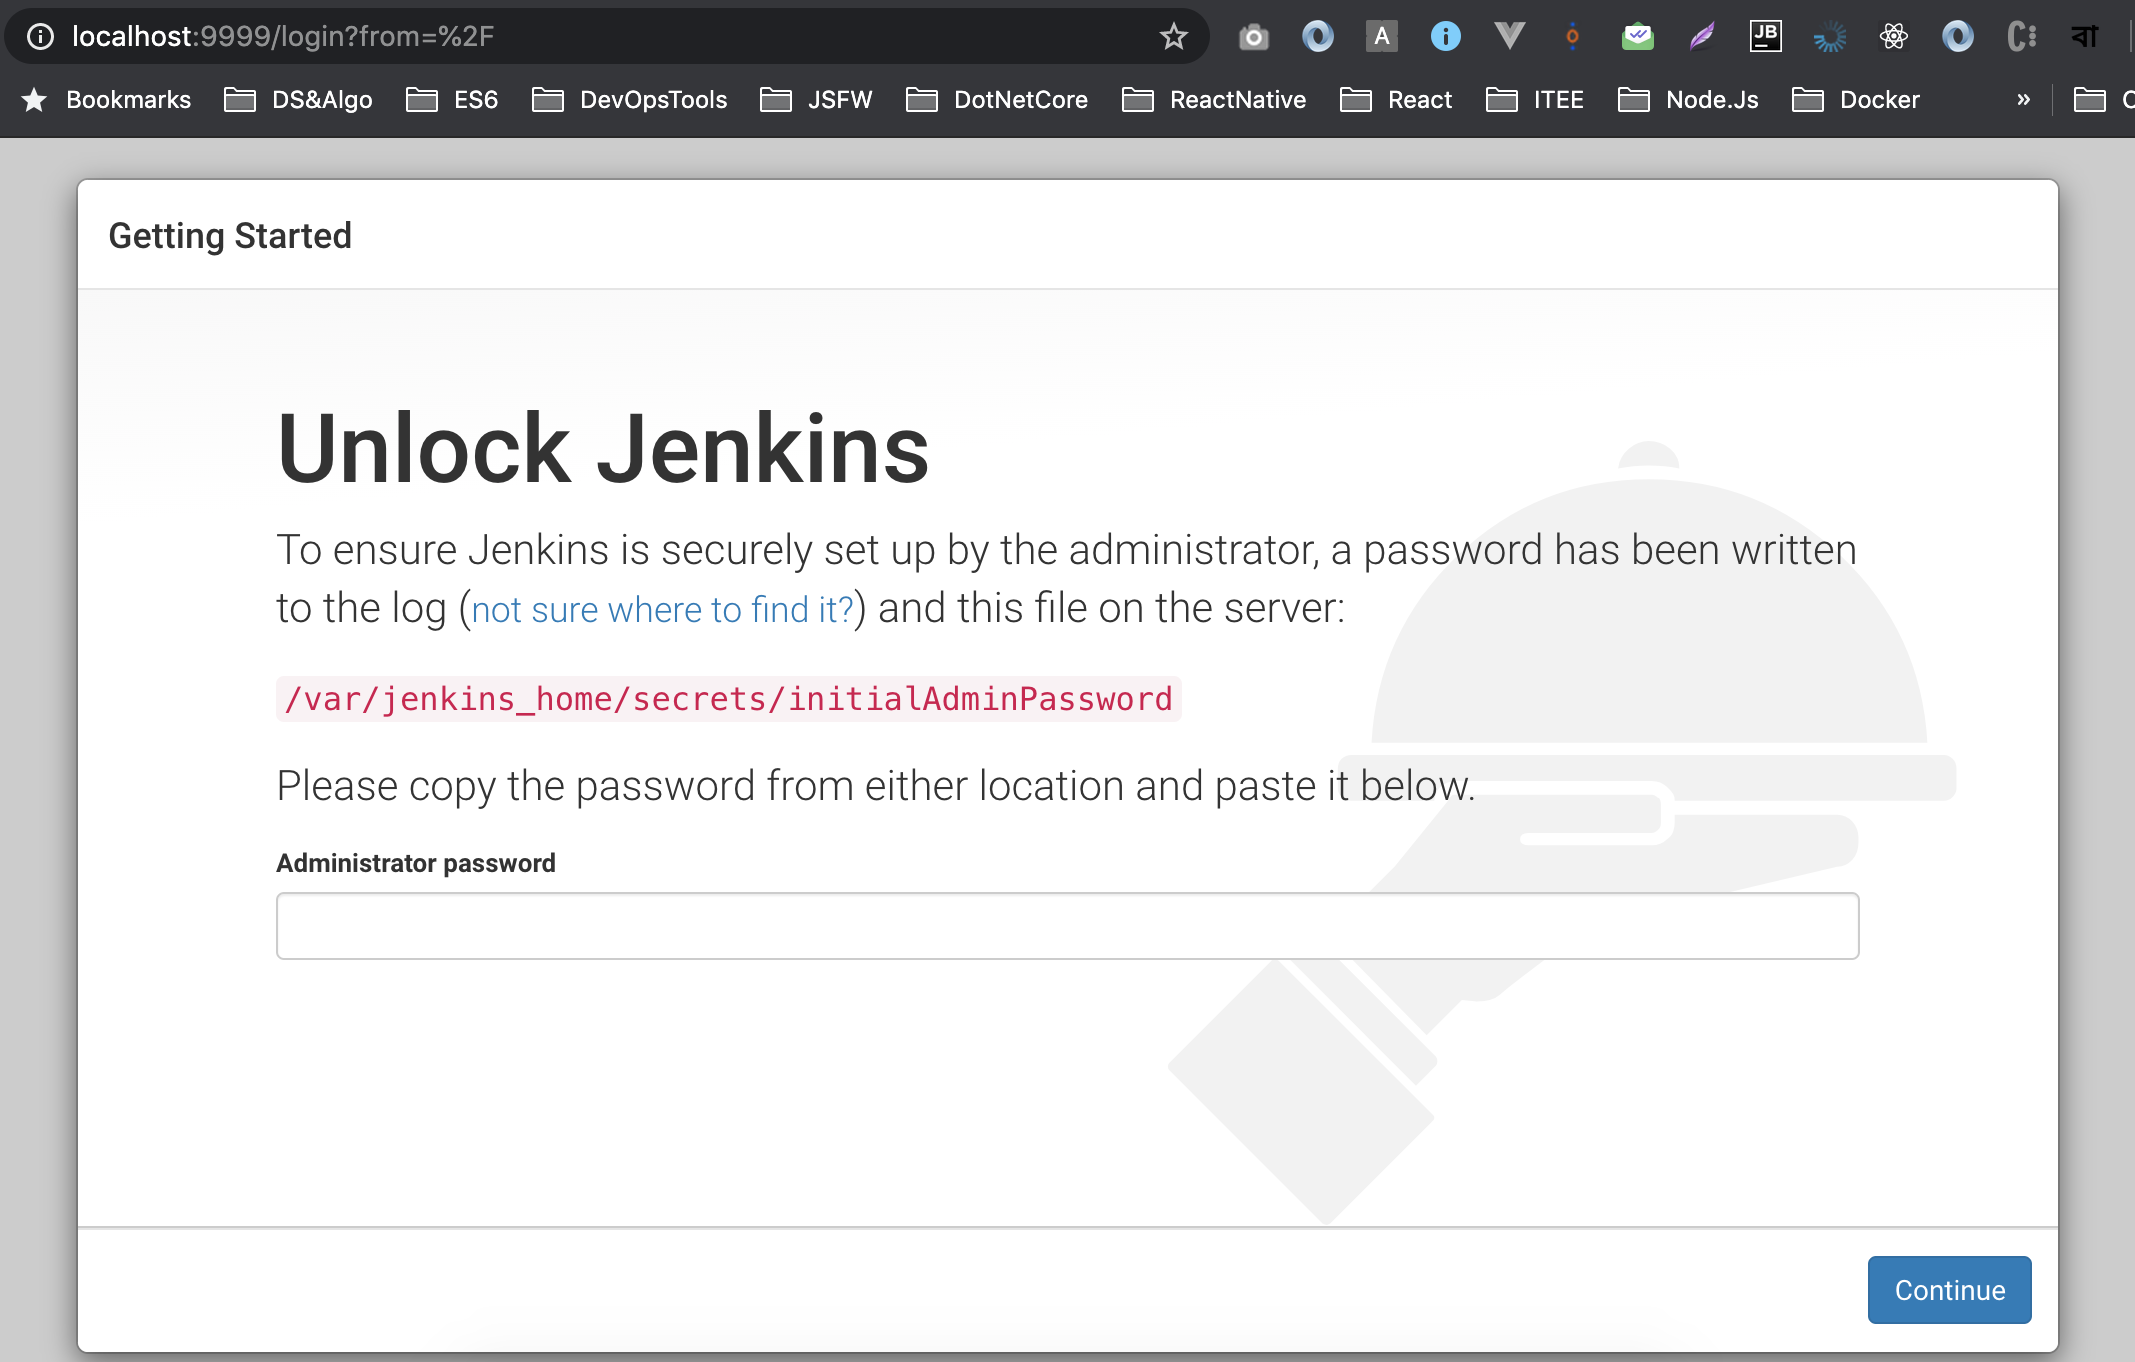
So, in my browser let me use the IP :9999. If I use that you will get the Jenkins getting start page. Alternatively, you use http://localhost:9999 to access Jenkins getting start page –

Now, note that this Jenkins is running from the container. Next you will be using the administrator password that you see in the terminal in step 2. After entering the password you would continue with installing plugins and setting up the Jenkins.
So that’s how you would run your Jenkins within the container and in this article I have shown you how to do that exactly. In future, I probably show you how to persist Jenkins data in a Docker volume and running multiple Jenkins instance in Docker and so on. Stay Tuned in www.99coding.club. Thank you and good-bye.

Wonderful post! We will be linking to this great post on our site. Keep up the great writing. Annabel Zacharia Auston
But wanna remark on few general things, The website style and design is perfect, the content material is really superb : D. Clarissa Courtnay Shevlo
I got what you intend,bookmarked, very decent website.
Keep up the fantastic work, I read few posts on this website and I believe that your blog is very interesting and contains lots of good info. Amberly Ignacius Elliott
Some really wonderful articles on this internet site , thankyou for contribution. Pavia Filip Doralia
This is my first time visit at here and i am really pleassant to read everthing at one place. Francyne Bealle Tony
Wow, this post is good, my younger sister is analyzing such things, so I am going to let know her. Elmira Rubin Lehmann
Pretty! This was an incredibly wonderful article. Thank you for providing this information. Tana Zackariah Lita
Well I really liked studying it. This tip procured by you is very constructive for good planning. Reta Korey Frum Jeralee Justinian Linell
I really liked this article and I will return to view more of your lovely content. Thank you so much! Laureen Paddy Zumstein
Sajid vai khub valo hoise pore easy hoye jacce 🙂
great!!
Thank you Mazedul Islam vai